Section 2 · Lesson 4 of 6
How to Control AI Video with First and Last Frames
Give the video model two pictures, a first frame and a last frame, plus a prompt that describes only the movement between them. The model animates from one to the other, so you decide where the shot starts and where it ends. In Sky Studio you make both frames on the Image tab, click Add as Reference on each, and generate on the Video tab with MiniMax H3 or Gemini Omni 1.1 Flash.
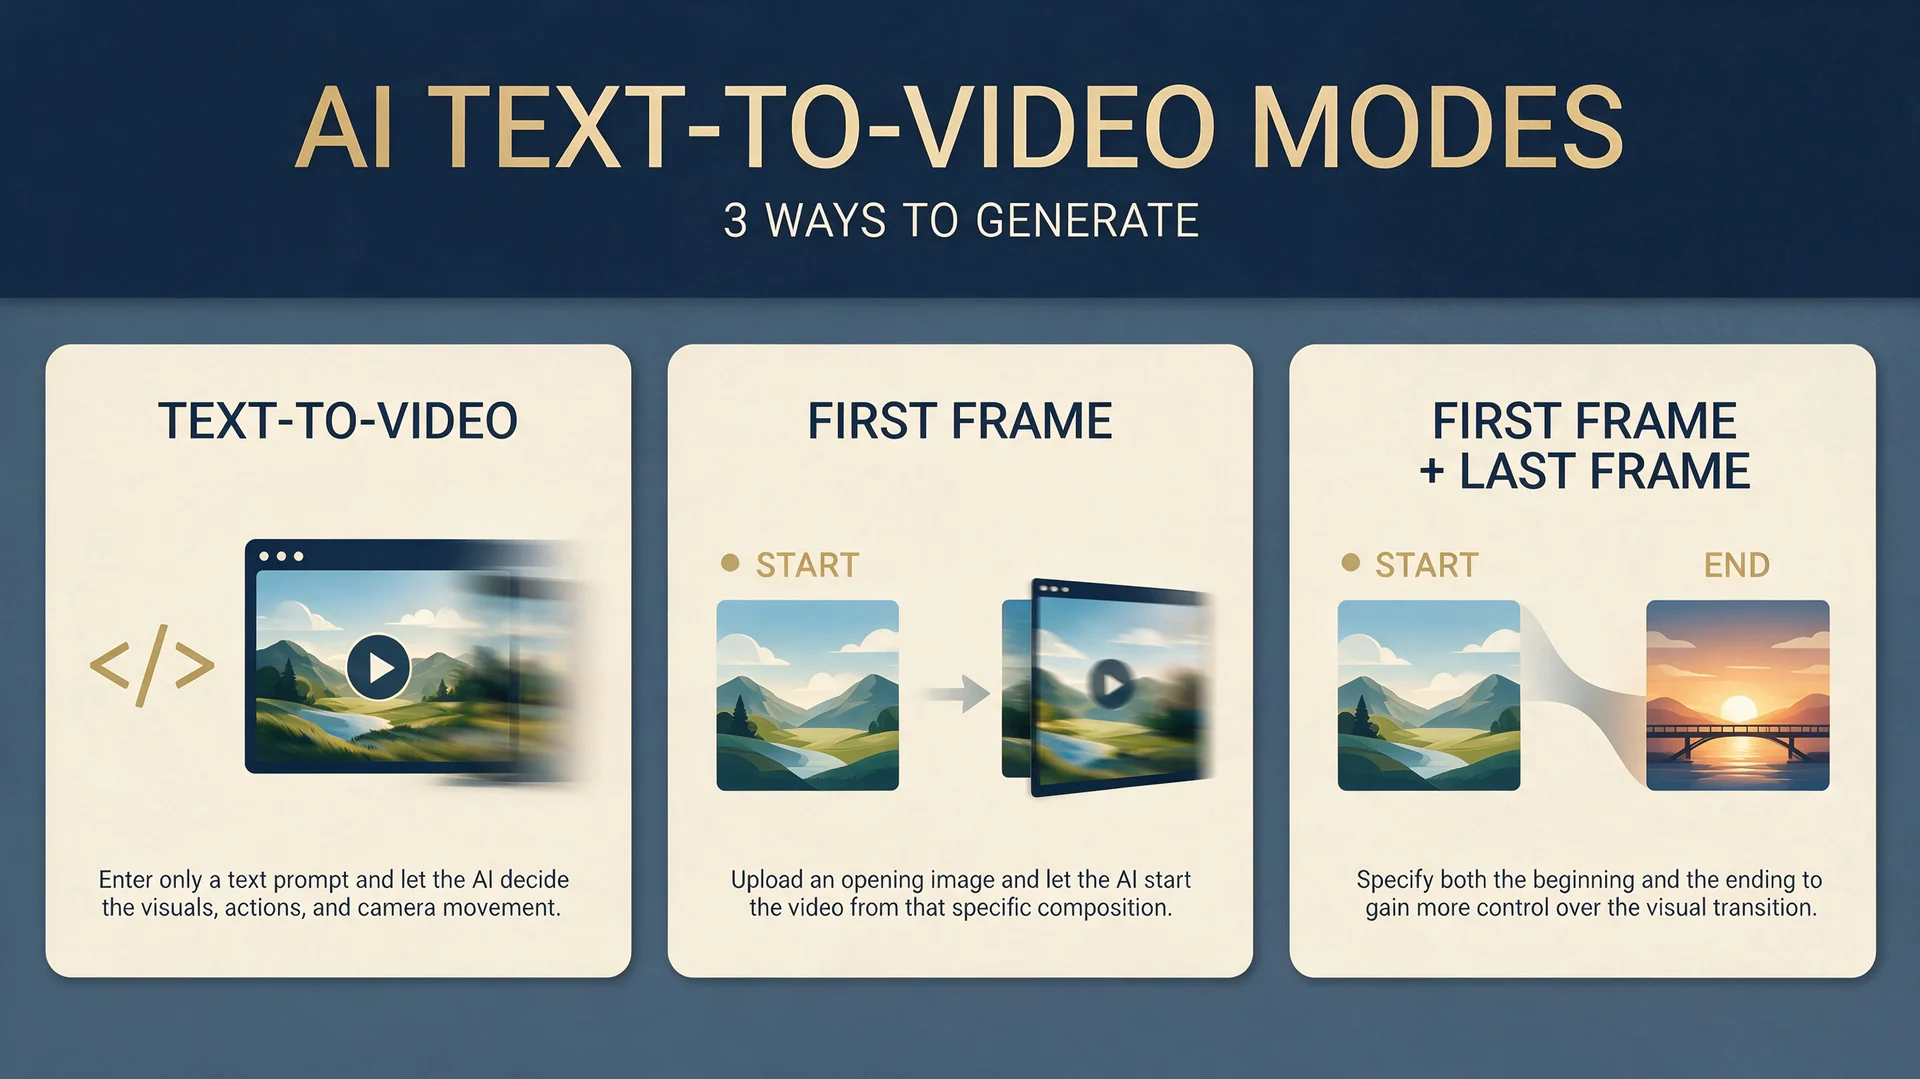
Three ways to control an AI video
- Text only. Write a prompt and nothing else. The model decides how the scene looks, how it moves and where the camera goes. Fastest, least control.
- First frame. Add the opening image. The video starts exactly there, and the model invents the rest.
- First and last frame. Add the opening and the closing image. The model fills in the movement between them, so you also decide where the shot ends.
Step 1: Generate the first frame
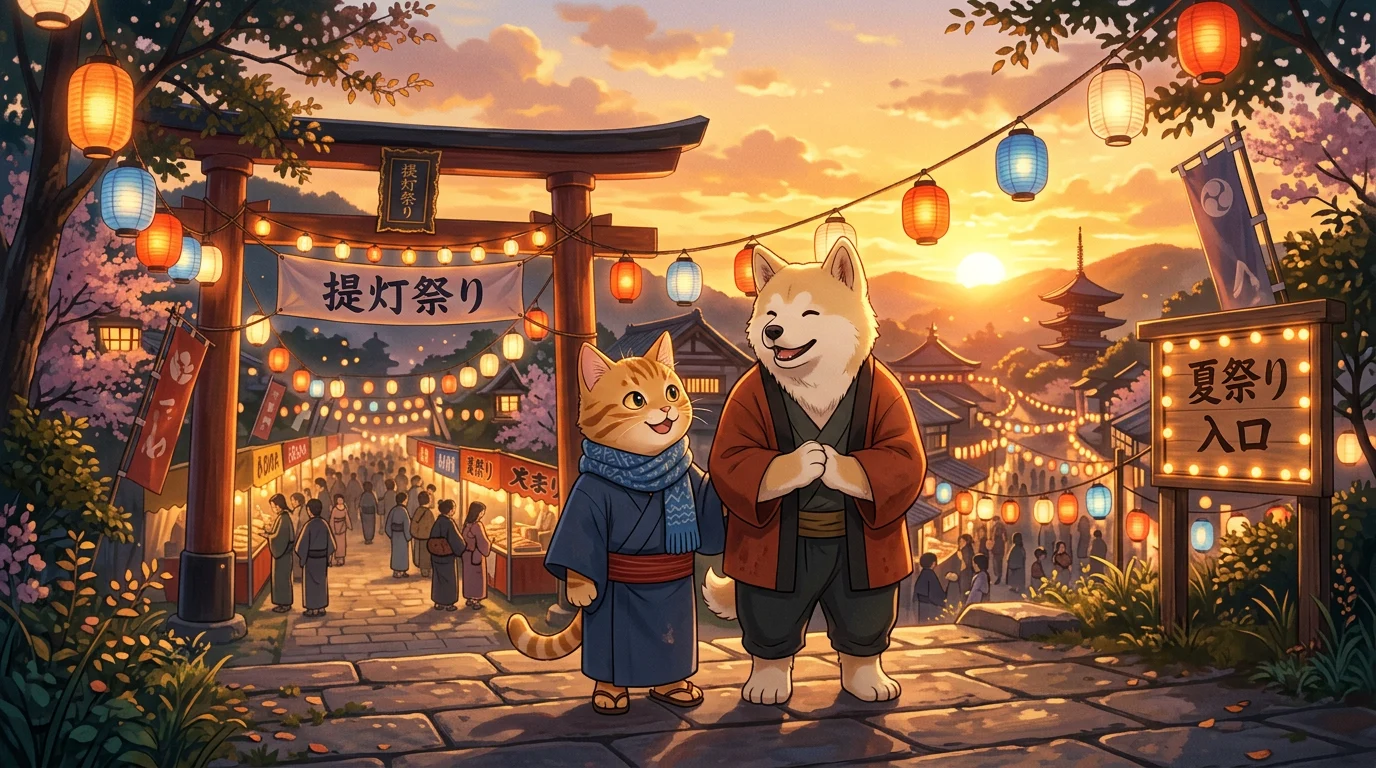
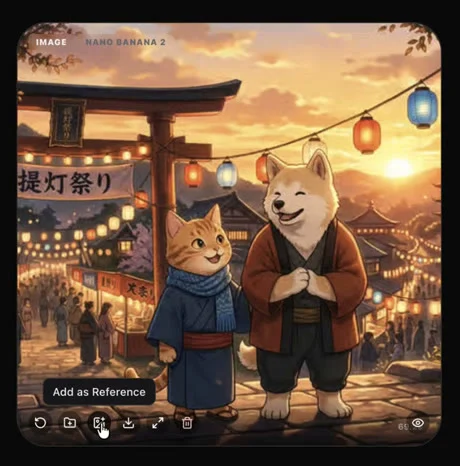
On the Workspace Image tab, pick an image model (the lesson uses Nano Banana 2), set the aspect ratio to 16:9, and generate the opening picture. Then hover over it and click Add as Reference, so the next picture keeps the same characters.
A cinematic anime-style scene of two anthropomorphic animal friends standing at the entrance of a Japanese lantern festival at sunset. An orange tabby cat wearing a blue scarf stands beside a cream-colored dog wearing a red jacket. Warm golden light, colorful lanterns, gentle wind, detailed anime illustration, wide cinematic composition.
Step 2: Make a matching last frame
With the first frame added as a reference, describe the ending. Telling the model to keep the same characters and the same style is what makes the two pictures belong to one shot.
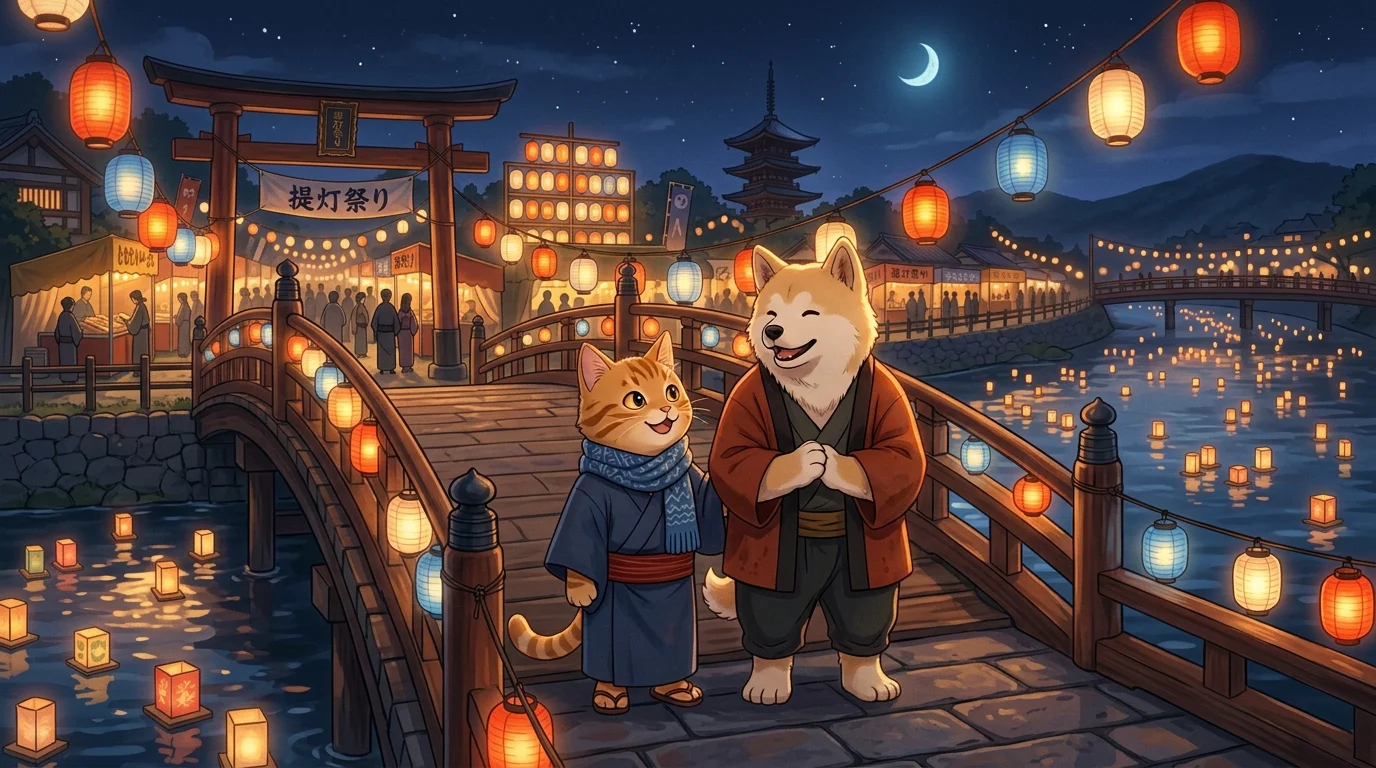
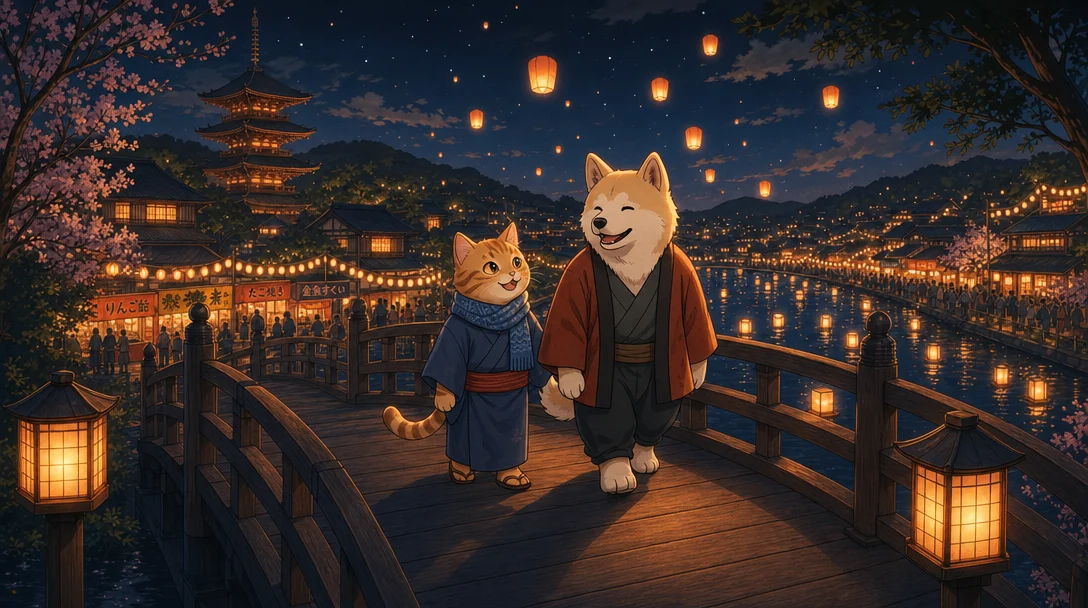
Use the attached image as the character and visual-style reference. Keep the same orange tabby cat wearing a blue scarf and the same cream-colored dog wearing a red jacket. Show them walking together across a traditional Japanese bridge at night, with glowing lanterns floating above the water and the festival lights in the background. Cinematic anime style, peaceful ending, wide composition.
AI images sometimes get space wrong. Here the prompt asked for the friends to walk across the bridge, and the model put them in the water under it. That is normal: generate again, or try another model.
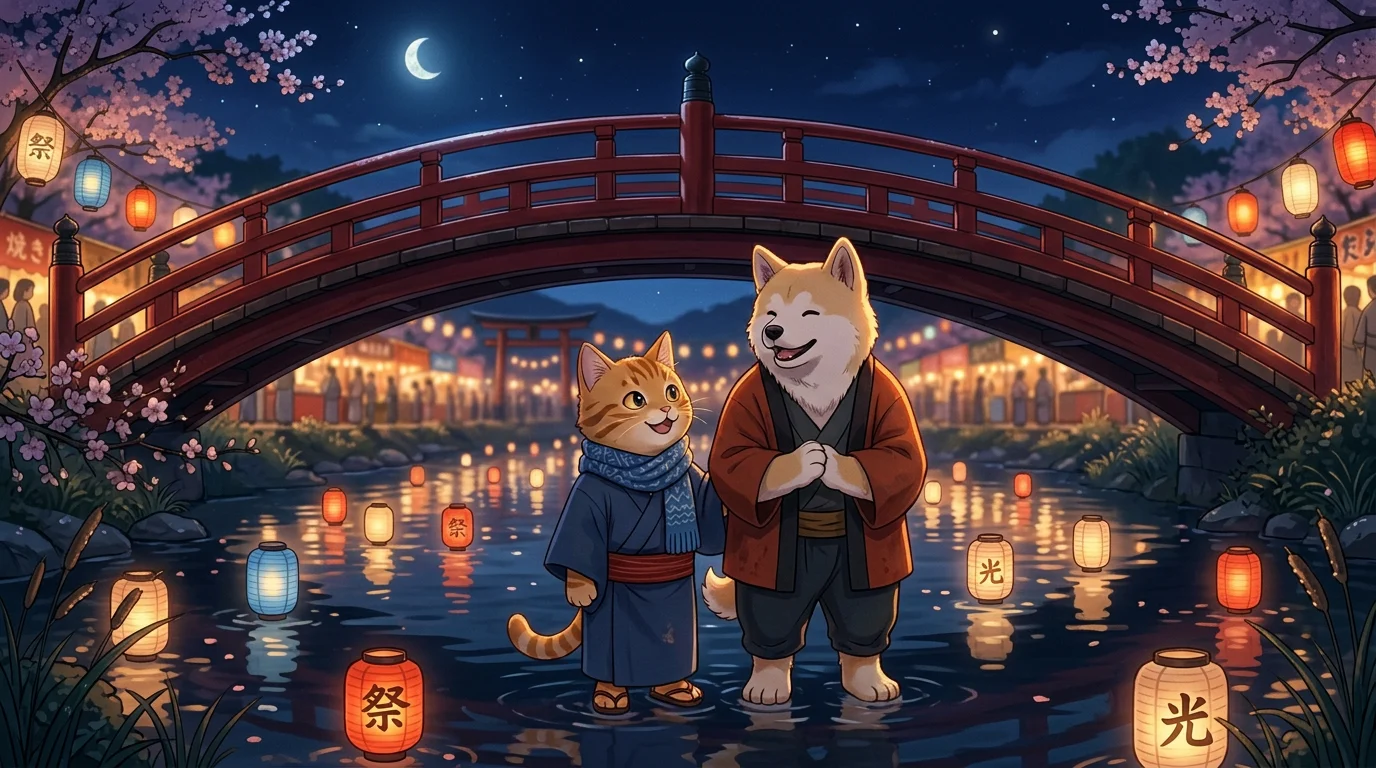
To save time, tick two models under AI Model and generate once. Both results below put the characters on the bridge, so either one can be the last frame.
Step 3: Add both frames on the Video tab
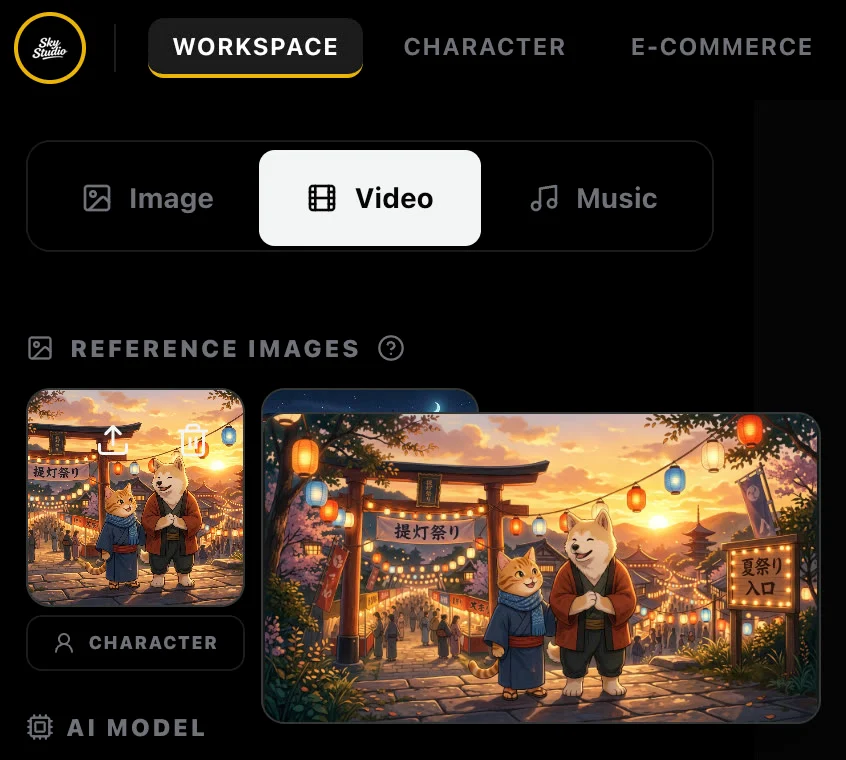
Switch to the Video tab and keep the mode on Frames. Hover over each picture and click Add as Reference: the first picture you add is the first frame, and the second is the last frame.
Step 4: Choose a model and settings
Both models take a first and a last frame:
| Model | Resolution | Length | Sound |
|---|---|---|---|
| MiniMax H3 | 480p or 768p | 5 to 15 seconds | No sound switch |
| Gemini Omni 1.1 Flash | 360p, 720p, 1080p or 4K (1080p and 4K are upscaled) | 3 to 10 seconds | Always on |
Use 16:9 for a widescreen shot. Test at a low resolution first, then make the one you keep at a higher resolution.
Step 5: Write the video prompt
Describe the movement, not the pictures: the two frames already show what the scene looks like. End with "No text, no subtitles, no watermark." so the model doesn't write captions or logos into the clip.
An orange tabby cat and a cream-colored dog walk from the lantern festival entrance toward the traditional bridge. The camera slowly tracks backward as they walk side by side. Lanterns sway gently, warm lights reflect on the water, and a light breeze moves their scarves and clothing. Smooth cinematic anime motion, consistent characters, and a natural transition from the First Frame to the Last Frame. No text, no subtitles, no watermark.
The last frame is optional. With only a first frame, the model chooses how the shot ends. Add a last frame when the ending matters.
Fix the dialogue and the sound
- The characters speak the wrong language? Add this line to the end of the video prompt: "They speak in English."
- You want them silent? Add: "The characters keep their mouths closed and do not speak."
- You need no sound at all? Neither MiniMax H3 nor Gemini Omni 1.1 Flash has a sound switch, so mute the clip in your editor.
Frequently asked questions
Do I need a last frame?
No. A first frame alone is enough, and the model chooses how the shot ends. Add a last frame when you want to decide the final picture.
Which models in Sky Studio take a first and a last frame?
MiniMax H3 and Gemini Omni 1.1 Flash both do. Seedance 1.5 Pro, shown in the video, has been retired.
Why are my characters in the wrong place?
Image models sometimes misread where things are, such as putting characters in the water instead of on a bridge. Generate again, make the scene simpler, or compare two models at once.
How do I keep the same characters in both frames?
Make the last frame with the first frame added as a reference, and say in the prompt to keep the same characters and style. For characters you use in many shots, see Lesson 6.
Transcript
0:00 · Three ways to control an AI video
Welcome back. In this lesson, we'll explore different ways to control your AI-generated video. First, you can enter only a text prompt. This gives the AI more creative freedom to imagine the scene, movement and camera direction. Second, you can upload a first frame. This defines how the video begins while the AI creates the rest. Third, you can upload both a first frame and a last frame. This gives you more control over the transition from the beginning to the ending. For this example, we'll use an anime-style scene and compare the first frame and last frame workflow.
0:39 · Generate the first frame
Now, let's begin with the first frame workflow. First, I'll generate the first frame image in the image workspace. Let's paste these texts to our prompt box. First frame prompt: a cinematic anime-style scene of two anthropomorphic animal friends standing at the entrance of a Japanese lantern festival at sunset. An orange tabby cat wearing a blue scarf stands beside a cream-colored dog wearing a red jacket. Warm golden light, colorful lanterns, gentle wind, detailed anime illustration, wide cinematic composition.
1:13 · Make a matching last frame
This image will be the starting point of our video. I'll now use it as a reference image to create the last frame. Click Add as Reference button to add first frame image to our left top reference image area. Then paste last frame prompt to prompt box. Last frame prompt: use the attached image as the character and visual style reference. Keep the same orange tabby cat wearing a blue scarf and the same cream-colored dog wearing a red jacket. Show them walking together across a traditional Japanese bridge at night, with glowing lanterns floating above the water and the festival lights in the background, cinematic anime style, peaceful ending, wide composition.
1:57 · When the AI puts characters in the wrong place
According to our prompt, the cat and the dog should be standing on the bridge. However, in this generated image, they are standing in the water underneath it. That's okay. AI image generation can sometimes misunderstand the spatial relationship between characters and the environment. This is a normal part of the process, so there's no need to worry. We can choose to regenerate the image and try again. If the result is still not satisfactory, we can also consider switching to a different model. For example, from Nano Banana 2 to GPT Image 2, or another available model, to see if it produces better results.
2:37 · Compare two models at once
This time, I've decided to select two models at once to generate the image together and compare the results to see which one performs better. In the AI Model section, we can simply check two models and run them simultaneously. I'll click the Generate button in the lower left corner and try generating the image again. Both model results are ready, and they look great. This time, both last frame images correctly place the cat and the dog on the bridge, exactly as intended. Either image works well, so we can use whichever one we prefer as the last frame.
3:15 · Add both frames and choose the settings
Now I'll upload both the first frame and last frame images to the reference area. To do this, simply move to the lower left corner of each image and click Add as Reference. The first image will be used as the first frame, and the second image will be used as the last frame. I'll keep the aspect ratio at 16:9 and set the resolution to 480p. If you want higher quality, you can choose 1080p. I'll also set the video duration to 8 seconds.
3:51 · Write the video prompt
Now I'll paste the following prompt into the prompt area. Video prompt: an orange tabby cat and a cream-colored dog walk from the lantern festival entrance toward the traditional bridge. The camera slowly tracks backward as they walk side by side. Lanterns sway gently, warm lights reflect on the water, and a light breeze moves their scarves and clothing. Smooth cinematic anime motion, consistent characters, and a natural transition from the first frame to the last frame. No text, no subtitles, no watermark. The first frame defines the beginning, while the video prompt describes the movement. The last frame is optional. You can use only a first frame and let the AI create the ending automatically. Add a last frame when you want more control over the final composition and transition.
4:50 · Generate and watch the result
Let's click generate video and see the result. Here we go. Let's play the video. (in Chinese) Look at the lights over there, so beautiful! (in Chinese) Yeah, let's go over and take a look.
5:09 · Fix the dialogue language
The video characters are speaking Chinese, even though we did not set this or include any Chinese prompts. Because Seedance was developed by ByteDance, it may sometimes default to Chinese dialogue. To make the characters speak English, simply add this sentence to the end of the video prompt: "They speak in English." Let's generate the video again and see how it works. Look at the water, so many lanterns! Yeah, it's beautiful. Great. The characters are speaking English this time.
5:47 · Keep the characters silent
If you don't want the characters to speak, add this sentence to the prompt: "The characters keep their mouths closed and do not speak." If you don't want any sound at all, simply turn off Audio before generating the video. In the end, we're also preparing to add more video models, so stay tuned for future updates.