
Section 2 · Lesson 6 of 6
How to Create Reusable AI Characters
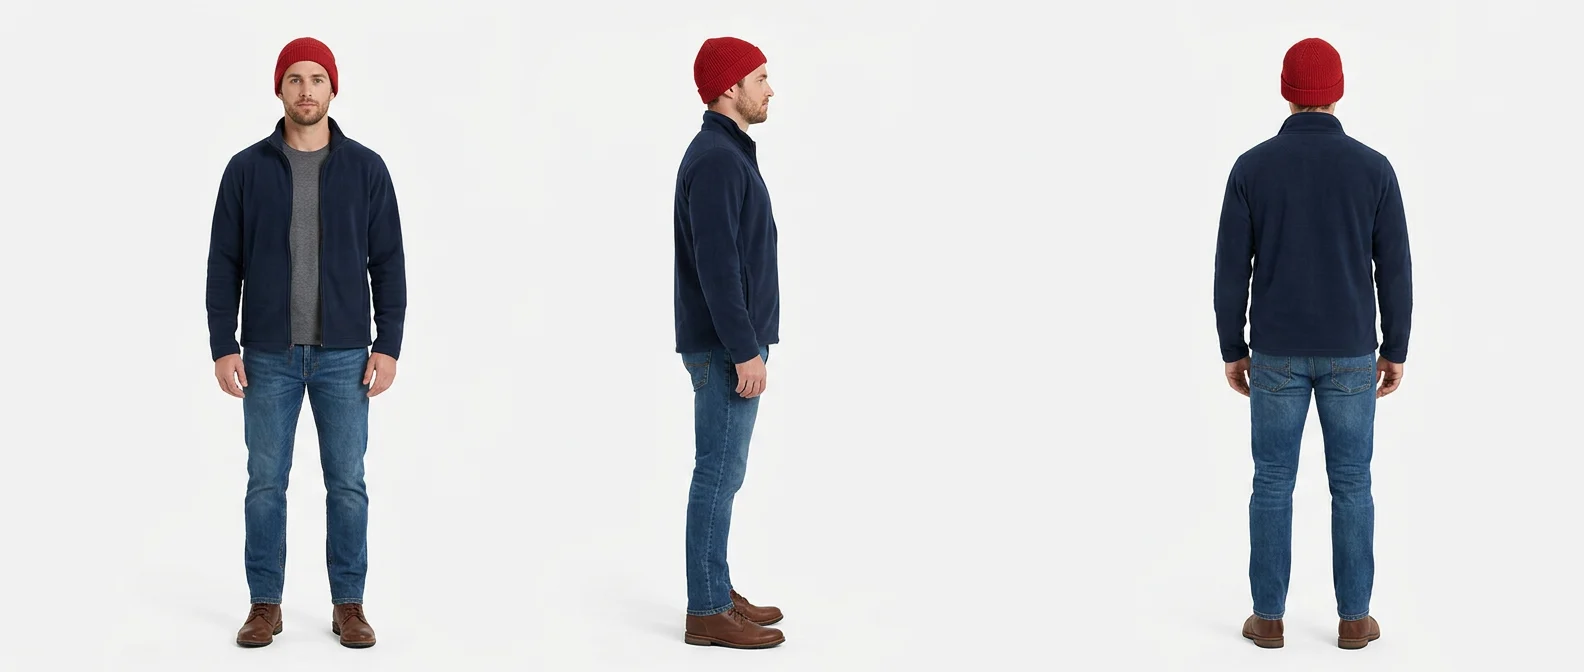
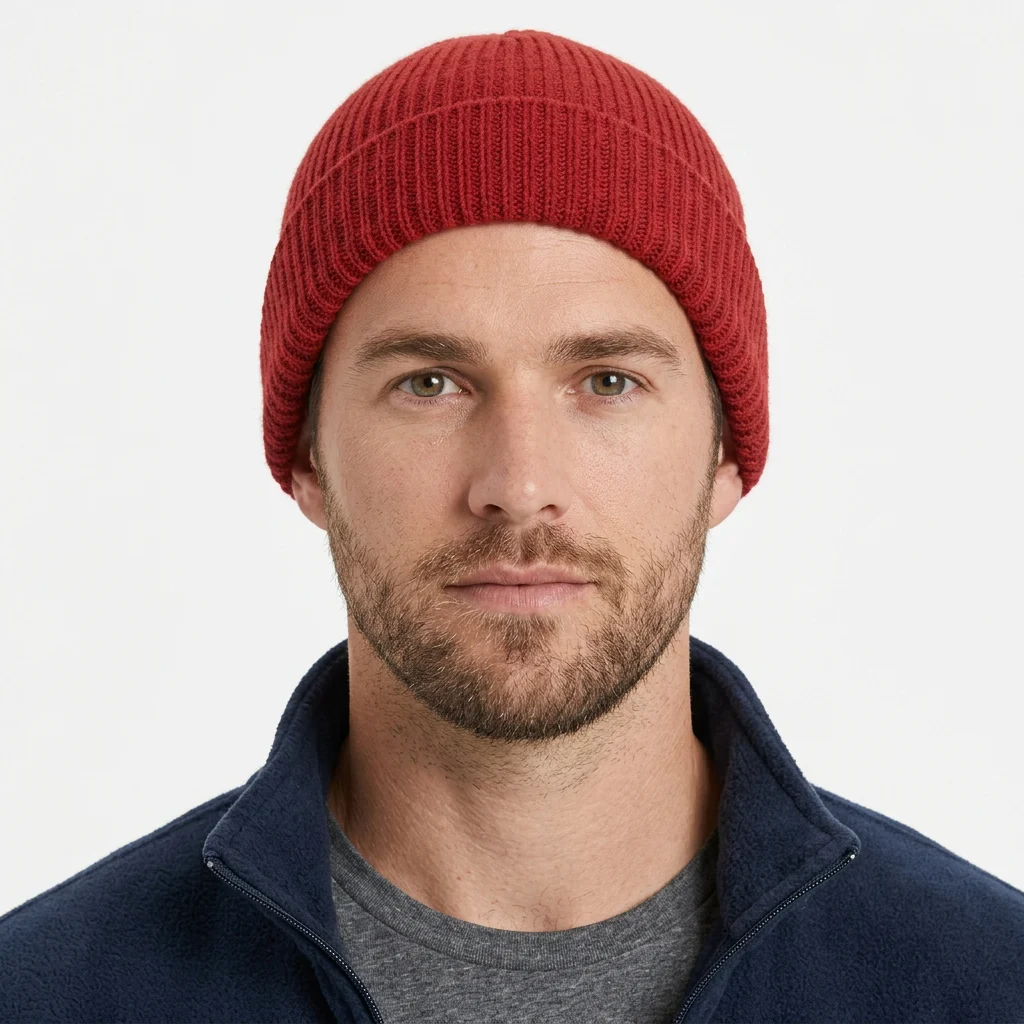
On the Characters page, describe the character (add "real person" for a photographic look), pick one or more models and click Create Character. Sky Studio draws a character sheet with a close-up and front, side and back views, names the character and writes a voice description for it. Then reuse it anywhere: in the Image or Video tab, open the Character panel and pick a view, and it becomes a reference, so the same face appears in every shot without describing it again.
Step 1: Describe your character
Click Characters in the top navigation. In the character prompt box on the left, describe who you want. Include "real person" for a photographic look; without it, the result may come out as a cartoon.
If you already have a picture of the character, upload one image under the prompt box. Use only a photo of yourself or of someone who has agreed to it.
a man with a red hat, real person
Step 2: Choose models and resolution
Start with Nano Banana 2. For another look, try Nano Banana Pro, GPT Image 2, Seedream 5.0 Flash or Seedream 5.0 Pro. You can tick two models at once and keep the result you like better.
Choose 2K or 4K (the Seedream models make 2K). Then click Create Character; the character shows as Generating in your library until it is ready.
Step 3: Check the result
Each character gets a character sheet and its own page, Character detail, where you can:
- Rename it (Sky Studio names it for you).
- Read the voice description Sky Studio writes, ready for when you give the character a voice.
- Click Generate Headshot for a sharper close-up of the face.
- Download or Replace each view.
Prompt: “a man with a red hat, real person”
Step 4: Or bring your own views
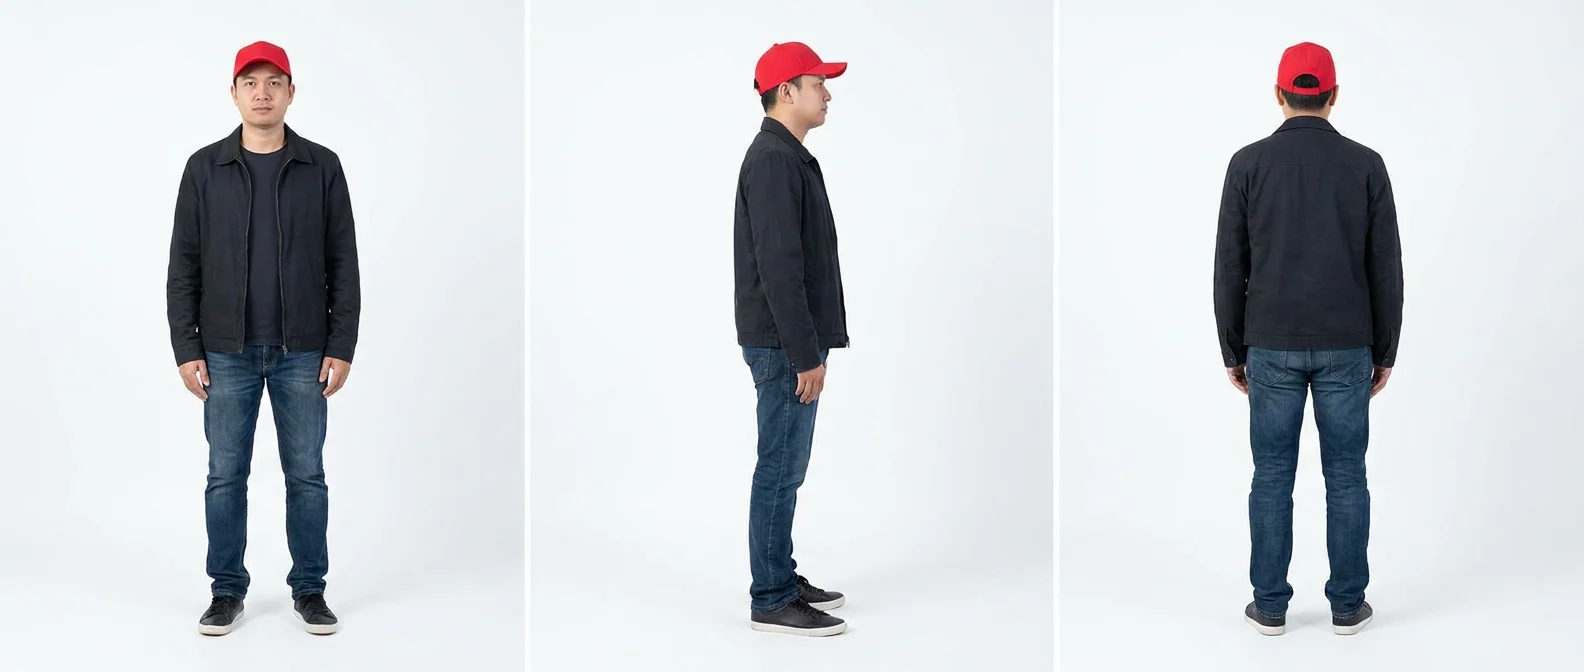
Already have front, side and back pictures of a character? Use Manual role image import at the bottom left of the Characters page to upload them instead of generating. The headshot is optional.
Step 5: Reuse the character in an image
Go to the Workspace Image tab and open the Character panel. Pick your character and click a view, such as the front: it drops straight into the reference area. Now describe only what should change.
change this man's red hat to a jellyfish
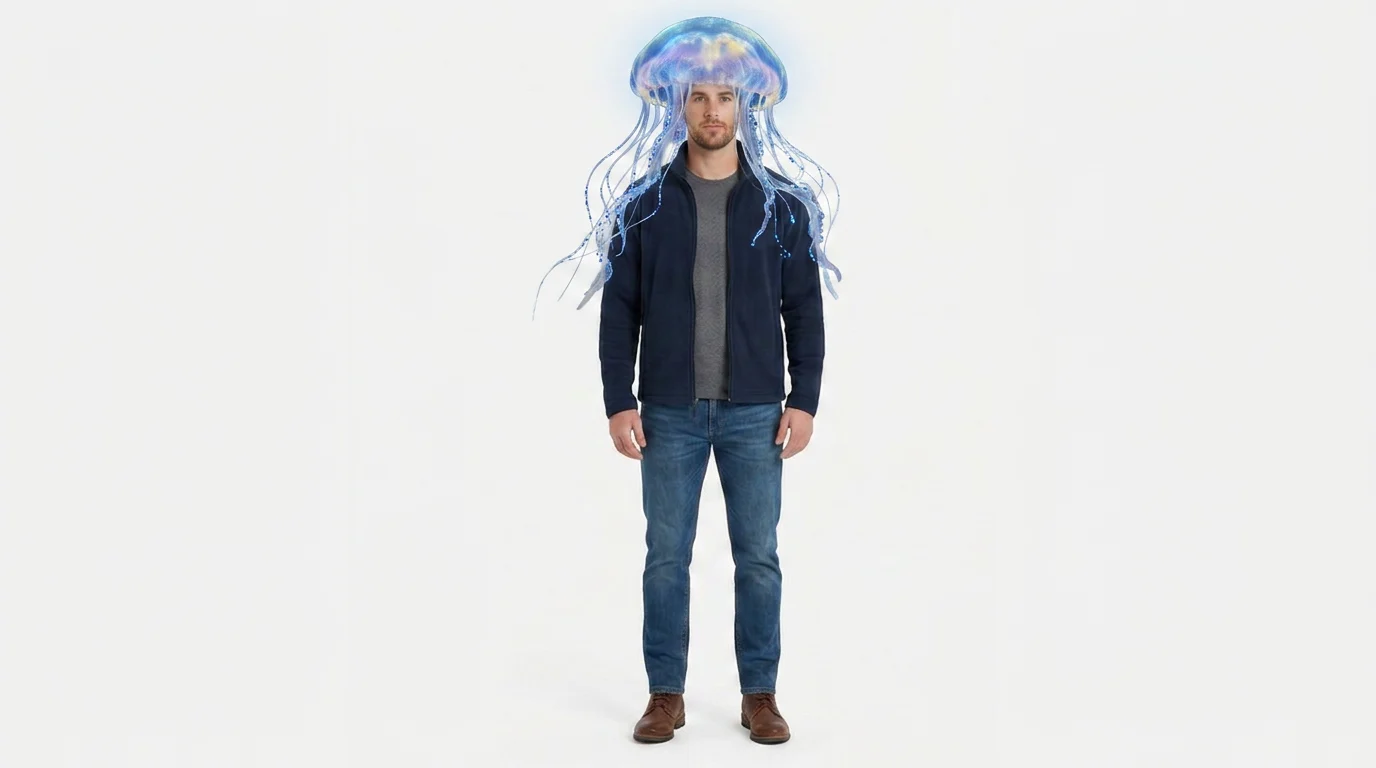
Step 6: Reuse the character in a video
On the Video tab, pick the character's front view as the first frame. For the last frame, hover over the jellyfish picture and click Add as Reference. Choose MiniMax H3 or Gemini Omni 1.1 Flash, keep a landscape ratio, and describe the movement.
This man is walking, then his red hat changes into a jellyfish.
One character, every shot
That is the point of the character library: you create a character once and reuse it in images and videos, instead of describing and generating it again for every shot. To learn more about first and last frames, see Lesson 4.
Frequently asked questions
How do I keep the same character in AI images and videos?
Create the character once on the Characters page, then pick it from the Character panel in the Image or Video tab. Its picture becomes a reference, so the face stays the same.
Can I create a character from a photo?
Yes. Upload one image under the character prompt box. Use only a photo of yourself or of someone who has agreed to it.
Which models can create characters?
Nano Banana 2, Nano Banana Pro, GPT Image 2, Seedream 5.0 Flash and Seedream 5.0 Pro, at 2K or 4K (the Seedream models make 2K). You can use two at once and compare.
What is a character sheet?
One picture of the same character from several angles: a close-up and front, side and back views. Sky Studio also saves each view on its own, ready to reuse.
Transcript
0:00 · The Characters page
Welcome back. Today, we'll be diving into the character system, showing you how to build your own custom AI avatars and manage them for consistent reuse throughout your projects. Let's jump right in. First, let's go to the top navigation bar and click on Character. This is where we create our AI avatars, digital humans, characters, whatever you want to call them.
0:21 · Describe the character
It's quite simple. On the left, we have the character prompt box. All you need to do is type in the character you want to create. For example, let's try "a man with a red hat, real person". Note that including "real person" is key. Without it, the system might default to a cartoon style.
0:39 · Reference upload, models and resolution
Right below that is Reference upload. If you already have a reference image, a real person or a character design you want to preserve, you can upload one image here. But for this demo, let's use text only. Next is AI Model. I'd suggest starting with Nano Banana 2. If you want better quality, you can try Nano Banana Pro or Seedream 5.0 Pro, and you don't have to pick just one. You can tick two models at the same time and compare the results. For resolution, 1K is fine for now. If you need higher quality, just choose a larger size from the dropdown.
1:15 · Create the character
Then we click Create Character. Now the system takes the prompt we just typed, runs it through both models and generates the character. Over in the character library, you'll see the status change to Generating. Let's wait a moment and see how it turns out. Once it's finished, you should get three angles of your character: front, side and back. The headshot is not included in this first pass. You can generate that separately in a second. For most of our work, the front image is the one we'll reuse later.
1:47 · Name, voice description and headshot
Okay, let's take a look. Here's what we got: a man with a red hat in front, side and back view. This one is Nano Banana 2, and this one is Nano Banana Pro. The system also names each character automatically, but you can rename it here to anything you like. Below that, you'll also see a voice description. If you want to design a voice for your character later, the system has already written that description for you, so you can reuse it. If you want a headshot, just click Generate Headshot, and the system will create a close-up of the character's head. Again, let's wait a moment and see the result. There it is, the headshot of our character. From here, we can take the images in Character detail and use them to build other scenes, putting this same character into different scenarios or different stories. That's the whole point of the character library. You create the character once and reuse it, so you don't have to redescribe or regenerate it every single time.
2:48 · Import your own views
One more thing: at the bottom left, Manual role image import. If you already have your own front, side and back images prepared, you can upload them here directly instead of generating them. The headshot is optional, and in Character detail, every angle has a Download and a Replace button, so you can always swap in a better image later. Every character you generate also comes with a composite image containing three angles in your workspace, ready for you to use.
3:21 · Reuse the character in an image
Let me show you an example. Let's go to Image, and then open the Character panel. Here, we can pick any of the characters we generated earlier. For example, let's pick "red hat man A" and click the front image. The image drops straight into the reference area. Now let's go to the prompt box and type: "Change this man's red hat into a jellyfish", then click Generate. Okay, here's the result. That's kind of funny, but you can see how this works. The character stays exactly the same, and we only change the one thing we asked for.
3:55 · Reuse the character in a video
We can do the same thing in video, so let's switch over to the Video tab. Here, I'll pick the character again, "red hat man A", front, and that becomes our first frame. For the last frame, I'll use the image we just generated. Move to that image, click Add as Reference, and it drops into the reference area too. For the model, let's try Seedance 1.5 Pro. This is just an example. Feel free to use whichever model you prefer. I'll keep the aspect ratio landscape, set the resolution to 480p and the duration to 4 seconds, and leave audio on. Then, for the prompt: "This man is walking, then his red hat changed to a jellyfish." Let's click Generate and see what we get.
4:48 · One character, every shot
And that's the whole idea: one character, reused in both images and videos, without describing him from scratch every time. For this example, I used Seedance 1.5 Pro, which is cost-effective and performs well for animation. However, if you prioritize higher quality and better character consistency, I recommend using Veo 3.1. Oh my God!